Landscape Editions
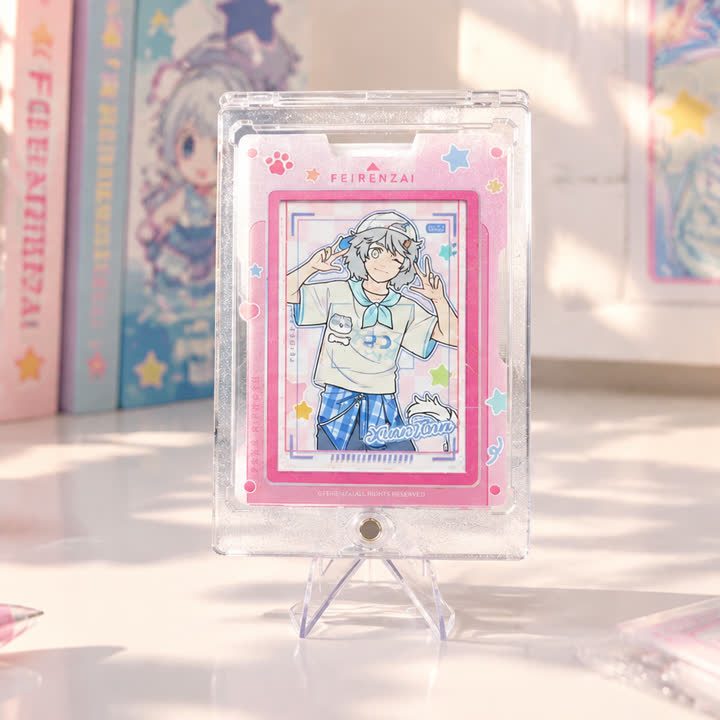
Pink Frame Illustration Card
A portrait illustration card with a pink rectangular frame and a smaller central artwork panel, leaving a light outer area for decorative and collection details.
View productLandscape Editions
A landscape character-card format that gives portraits, costumes and background artwork more horizontal space without relying on a tall framed layout.
Best starting point
Share the artwork and intended presentation.
Useful project context
Include size, quantity and target timing.
Product story
The landscape character card uses a wide image area to place the figure within a larger scene. The gallery includes contrasting character artwork in the same horizontal presentation, making the format relevant to projects that need variety without changing the overall orientation. A wide card can carry more environmental detail, but it still needs one clear focal point.
The main artwork decision is the crop. Prepare the character and background so the design can be checked at the proposed finished size rather than simply rotating a portrait file. Keep names, collection marks and other important text away from the edges and from strongly patterned background areas. The reverse layout should be planned in the same orientation unless the project intentionally requires otherwise.
If the custom version uses foil, UV or a holographic area, indicate the intended placement independently of the main illustration. A broad background effect can behave differently from a narrow decorative accent. Compare both the wide scene and small character details in a sample before deciding how much of the image should react to light.
Send the landscape artwork, front and reverse layouts, quantities and preferred presentation. State whether the cards will be stored in an album, placed in protective holders or arranged as a display series. That context helps define the finished format and accessory scope without assuming that the holder or stand shown in a presentation is part of the card itself.
A consistent frame helps individual designs read as one collection.
The finish direction can support the illustration without taking over.
The visual system can extend across additional card designs.
Product video
Review the surface, visual movement and overall presentation before sharing your project brief.
Discuss This ProductArtwork readiness
Buyer questions
Use a separate finish mask and flag very fine lines or small text for review.
Combinations are possible, but artwork, registration and surface interaction should be reviewed together.
Include artwork, dimensions, quantity, intended use and visual references.
Landscape Editions
A portrait illustration card with a pink rectangular frame and a smaller central artwork panel, leaving a light outer area for decorative and collection details.
View product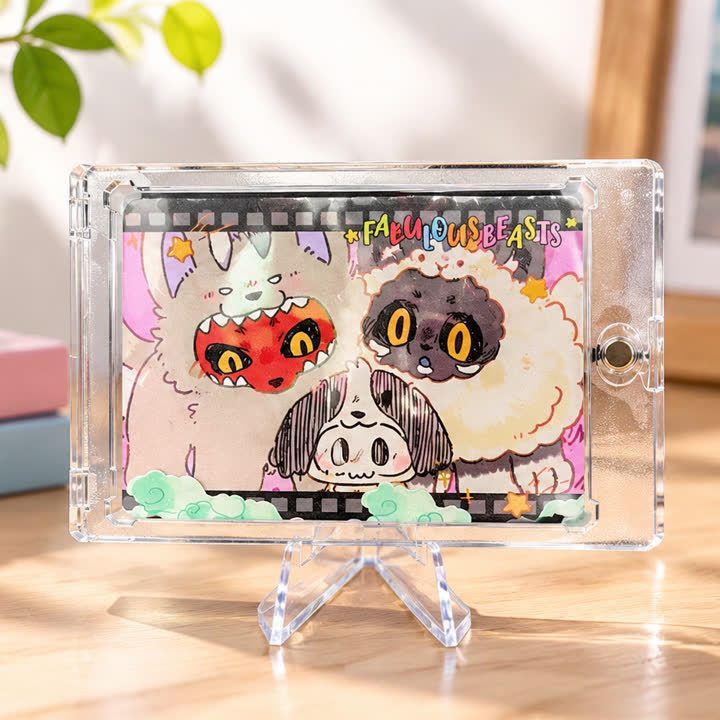
Landscape Editions
A wide character composition with contrasting figures and playful framing, suited to artwork where the relationship between characters is central to the design.
View product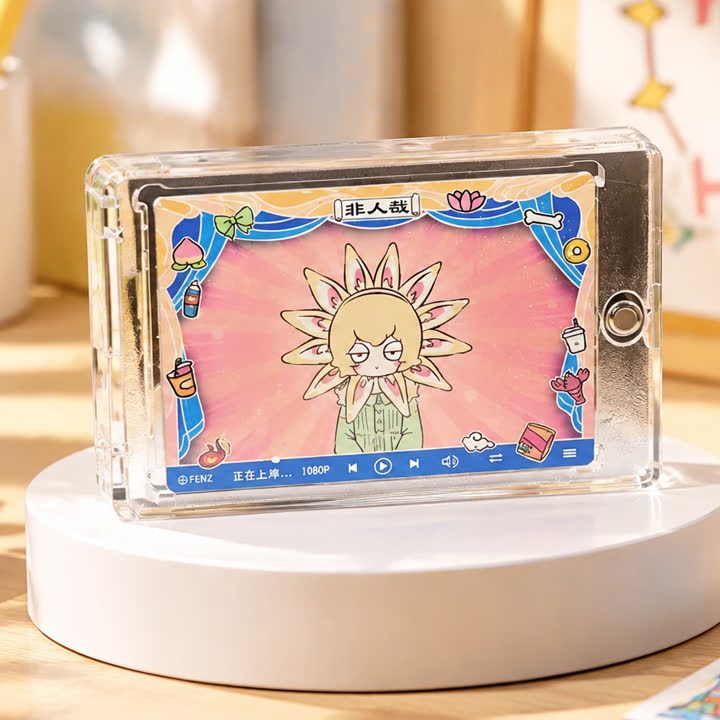
Landscape Editions
A landscape card with a strong central emblem, vivid background and decorative outer frame, using symmetry and contrast to organize an energetic illustration.
View productWorking pathway
Clear communication keeps artwork, finishing and production decisions aligned.
Share artwork, format, quantity and visual references.
Align material, structure and finish priorities.
Review appearance, registration and handling where needed.
Confirm the approved direction before production.
Send your artwork, dimensions, quantity and visual references for a focused conversation.