Display Cards
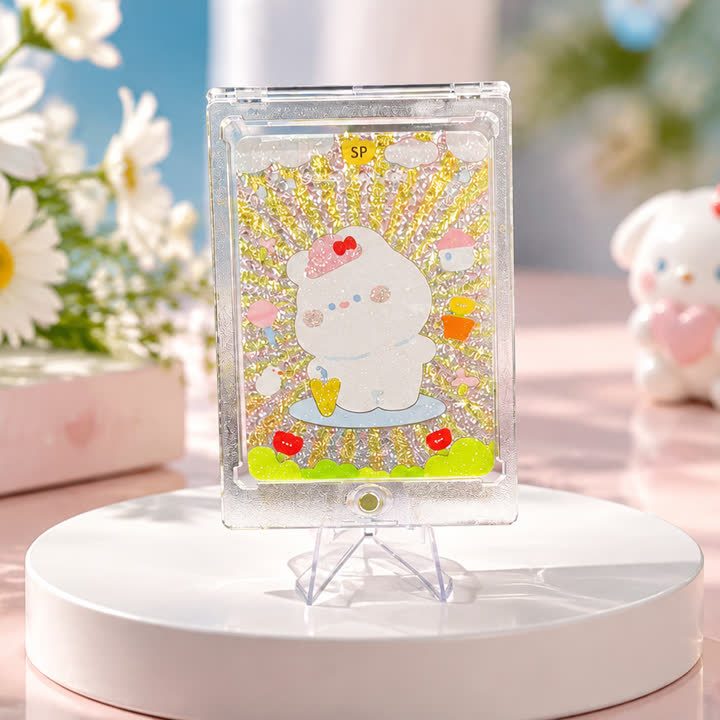
Floral Character Display Card
A light character display design with radiating background detail and small botanical accents, built around a clearly outlined central figure rather than dense portrait framing.
View productDisplay Cards
A character-focused display layout with open areas and compact identification, presented in a clear protective holder without assuming a transparent card substrate.
Best starting point
Share the artwork and intended presentation.
Useful project context
Include size, quantity and target timing.
Product story
This display character card places a compact figure within an open layout, with a distinct header and small identifying graphics. The design uses empty space to separate the character from the surrounding information. It is different from a full-bleed illustration card: the placement of the figure and the shape of the open areas are central to how the finished piece reads.
The clear outer holder and stand are presentation items. Their appearance does not establish whether the card inside is paper, PVC, PET or another substrate. For a custom project, define the card material and printed coverage separately from the holder. If genuine transparent areas are required, supply an opacity plan showing what should remain clear and what should read as solid artwork.
Technical review should connect the material choice with the print and finish plan. Transparent plastic and paper-based cards need different production planning; UV printing, foil and rounded contours are separate decisions tied to the chosen substrate. Review small header lettering, character edges and the contrast against the intended display background before approving the build.
Send the character artwork, header and logo elements, desired transparent or opaque areas and the planned display method. State whether you need the card alone, a protective holder, a stand or a packaged combination. A clear item-by-item brief avoids confusing the printed product with the accessories used to present it.
A consistent frame helps individual designs read as one collection.
The finish direction can support the illustration without taking over.
The visual system can extend across additional card designs.
Product video
Review the surface, visual movement and overall presentation before sharing your project brief.
Discuss This ProductArtwork readiness
Buyer questions
Use a separate finish mask and flag very fine lines or small text for review.
Combinations are possible, but artwork, registration and surface interaction should be reviewed together.
Include artwork, dimensions, quantity, intended use and visual references.
Display Cards
A light character display design with radiating background detail and small botanical accents, built around a clearly outlined central figure rather than dense portrait framing.
View product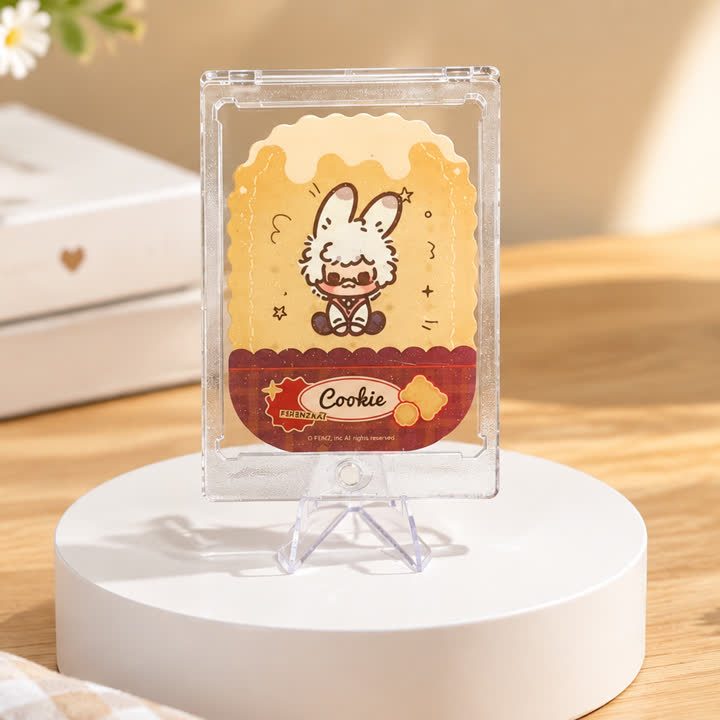
Display Cards
A warm-toned character display card with a scalloped central panel and a lower nameplate, bringing illustrated character artwork and identification into a compact layout.
View productWorking pathway
Clear communication keeps artwork, finishing and production decisions aligned.
Share artwork, format, quantity and visual references.
Align material, structure and finish priorities.
Review appearance, registration and handling where needed.
Confirm the approved direction before production.
Send your artwork, dimensions, quantity and visual references for a focused conversation.